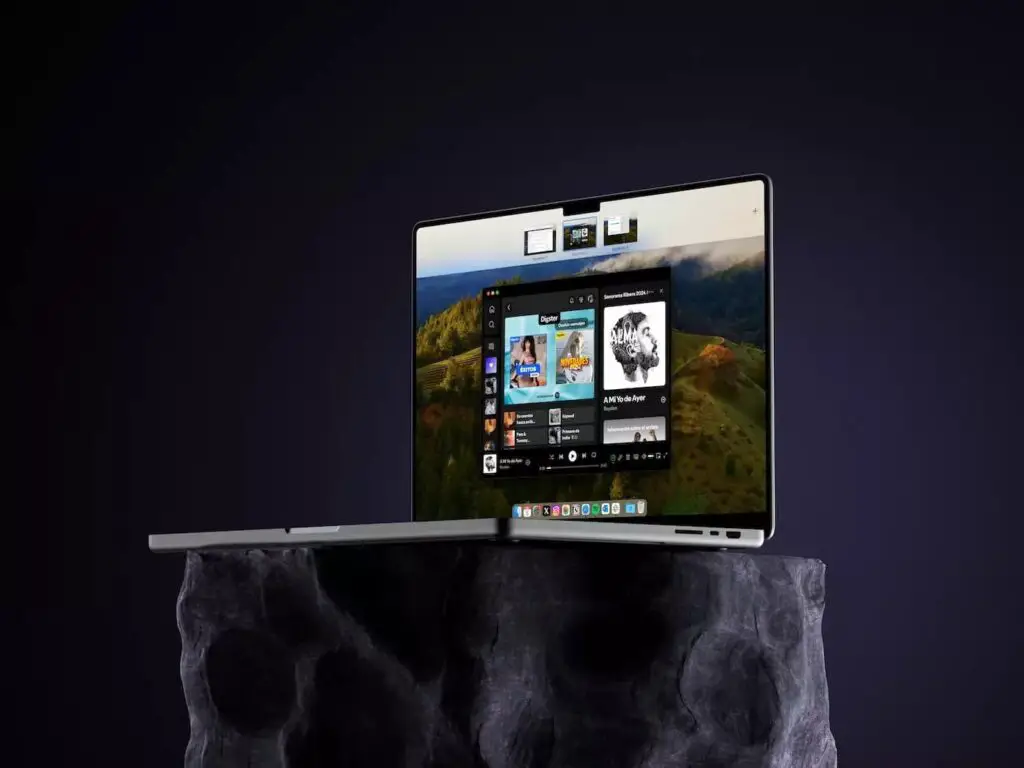
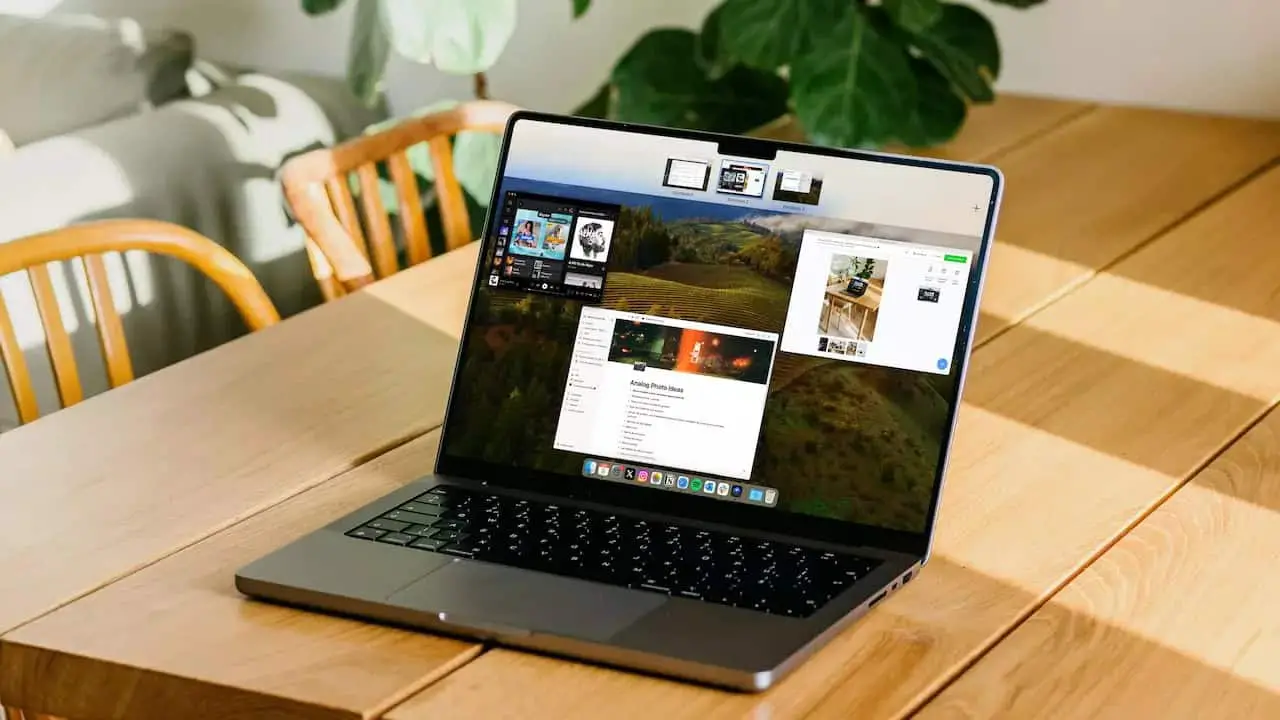
The operating system that powers Macs, and macOS, offers several tools and features designed to help you organize your files, windows, and desktops, which can significantly improve your productivity. Below, we’ll explore how to take advantage of these features to create a more efficient and clutter-free work environment.
If you are one of those users who works with a large number of windows open and you don’t want them to interfere with each other, Mission Control and desktops are the solution. Apple implemented them with a major update last year and they have become a very useful and functional tool for all users.
On the other hand, there are other uses that Apple allows us to maximize efficiency and automate all the processes on our Mac. Keep reading and discover each and every one of the methods we have to keep our Apple computer organized and optimized.
Using Spaces and Mission Control
Spaces are virtual desktops that let you organize your apps and windows into different work environments. Mission Control is the tool that helps you manage these spaces and see all your open windows at a glance.
How to set up and use spaces
- Access Mission Control: You can open Mission Control by swiping up with three fingers on the trackpad or by pressing the F3 key (or the key with three rectangles) on the keyboard.
- Create a new space: Once in Mission Control, move your cursor to the top of the screen. You’ll see a + button in the top right corner. Click this button to create a new space.
- Organize apps into different spaces – Drag open windows into a new space to organize them to suit your needs. You can have one space for design tasks, another for email management, and another for research, for example.
- Switch between spaces: Swipe left or right with three fingers on the trackpad to switch between spaces. You can also use Ctrl + Left/Right Arrow on the keyboard.
Using the Menu Bar and Dock
The Menu Bar and Dock are key components in organizing your desktop.

Customize the Menu Bar:
- Add and remove icons: You can drag icons into the menu bar from the top of windows or the Dock. To remove an icon, hold down the Cmd (Command) key and drag the icon out of the bar.
- Reorder icons – Drag icons in the menu bar to rearrange them to your liking.
Customize the Dock:
- Move the Dock – You can change the location of the Dock to the bottom, left, or right of the screen in System Preferences > Dock & Menu Bar.
- Change Dock size and magnification – Adjust the size of the Dock and enable magnification so that icons grow when you hover over them.
- Add and remove apps from the Dock: Drag apps to the Dock to add them. To remove an app from the Dock, right-click the icon and select Remove from Dock.
Organize Windows with Snap Layouts and Full Screen Windows
Snap Layouts allow you to easily fit windows on your screen to maximize the use of space.
How to Use Snap Layouts:
- Maximize windows – You can click the green button in the top left corner of a window to maximize it. You can also hold down the Option key and click the green button to make the window take up the entire screen without entering full-screen mode.
- Snap windows to sides of the screen – Drag the window to the left or right edge of the screen to resize it to half the screen.
Full-Screen Mode:
- Enter Full Screen: Click the green button in the top left corner of the window to make it fill the entire screen.
- Exit Full Screen: Move the cursor to the top of the screen to reveal the menu bar and click the green button again to exit full screen mode.
Using Labels and Smart Folders
Tags and Smart Folders allow you to organize and access your files more efficiently.
How to use Tags:
- Add Tags to Files – Right-click a file and select Tags. Choose a tag or create a new one to organize your files into categories.
- Search by Tags – Use Spotlight to search for files by specific tags. Simply type the tag into the search bar to find all associated files.
How to create Smart Folders:
- Create a Smart Folder: Open Finder and choose File > New Smart Folder. Set up search criteria (by file type, date, etc.) and save the folder.
- Manage Smart Folder content – Smart Folders are automatically updated based on criteria you define. You can access them from the Finder to see files that meet those criteria.
Organizational features in macOS, such as Spaces, Mission Control, Dock and menu bar customization, and the use of labels and smart folders, help you keep your work environment organized and efficient. Taking advantage of these tools will allow you to better manage your tasks and improve your productivity.
Is there a specific aspect of these features that you would like to explore in more detail or any other topics that interest you?
 Trick Knowledge Technology

